
Create Multiple Sign Requests
Introduction
This feature allows a power user to create multiple sign requests directly for employees on the system, without the need for a workflow.
Getting Started
Open the Employee Manager and apply the filter to retrieve a list of employees. Select one or more employees and then click on the Create dropdown button on the ribbon bar and then click on the Sign Requests item in the dropdown menu. This will open the Batch Sign Request Creator.
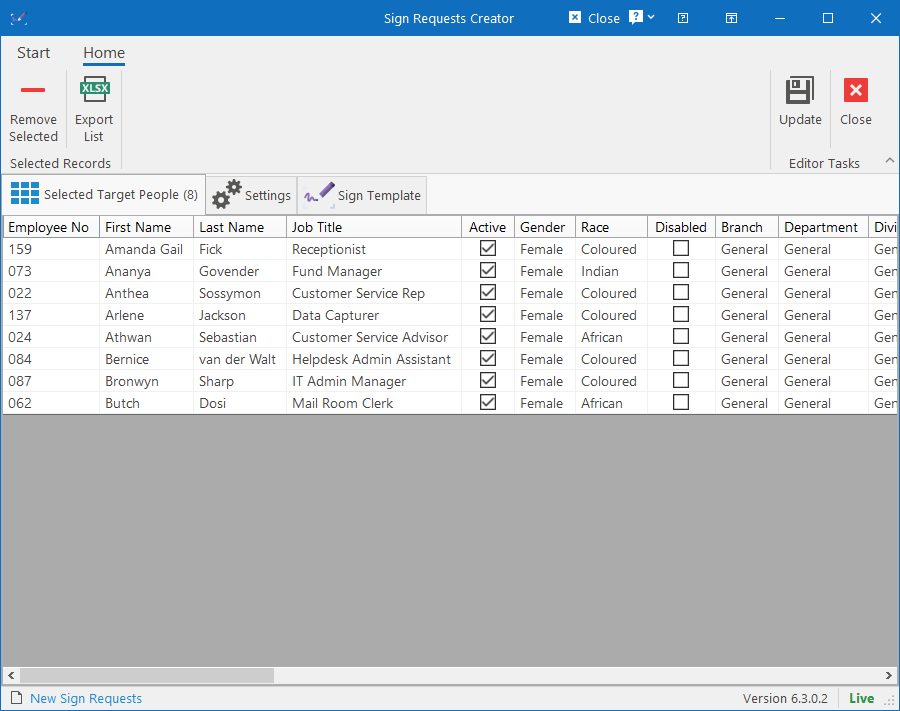
Selected Target People
The selected employees will appear in this list. The system will generate a sign request for each of the people listed here, making each of them the Target Person of their sign request.
If someone was included erroneously, they can still be removed from this list under this tab.
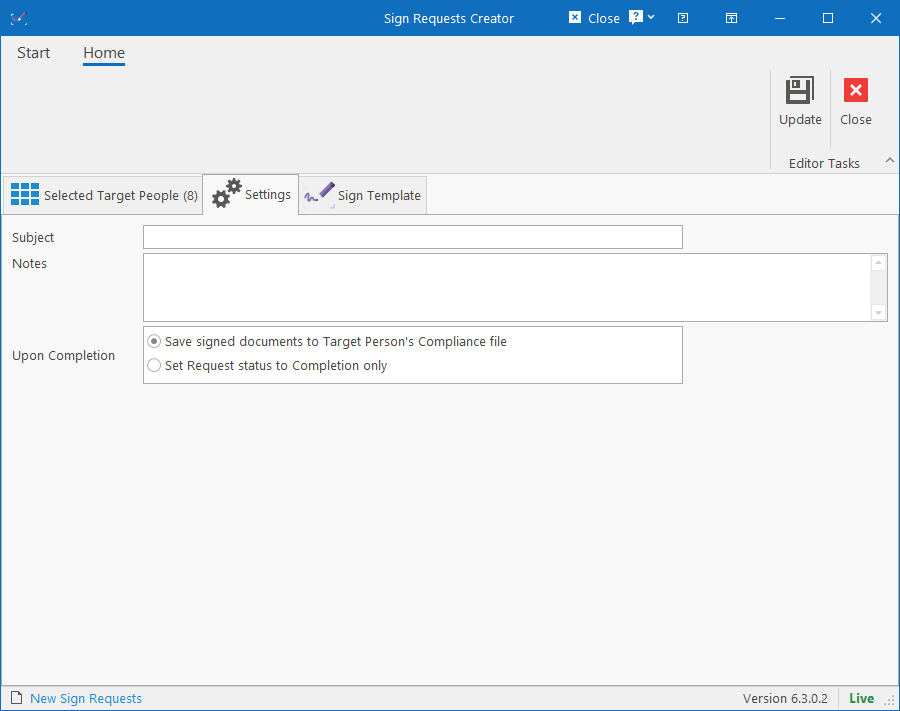
Settings
Contains the basic settings for the sign requests.
- Subject: The subject of the sign request which will be included in the email notifications.
- Notes: Internal notes that you would like to copy to each of the created sign requests.
- Upon Completion: Since these sign requests will not be linked to any workflows, the system can save the final signed documents to the employee’s compliance data. If not, the documents will only be available by opening the sign request.
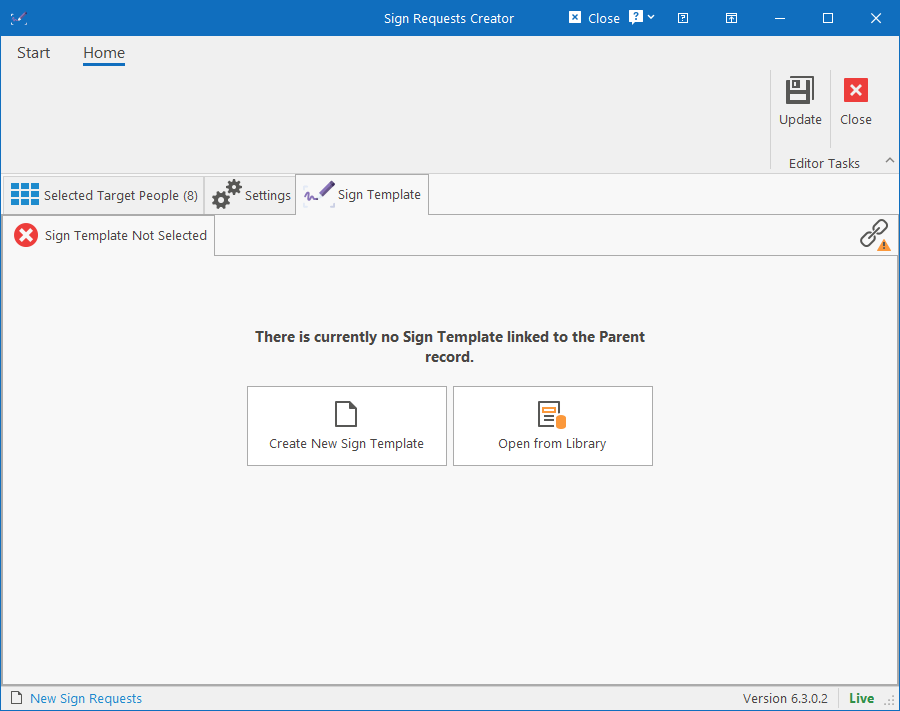
Sign Template
You can create or open an existing Sign Template here that must be used for creating the sign requests. Changes made to the sign template won’t automatically be saved back to the library and if a new one is created without saving, then only the settings of it will be used for creating the sign requests.
Using a Sign Template provides the advantage of preventing duplicate sign requests from being created, so it is strongly recommended.
For detailed information on how to manage sign template on this tab, see the Sign Template Editor.
If you’ve opened a template and wish to switch to a different template or create a new one, click on the Action menu button in the top-right corner of the tab.
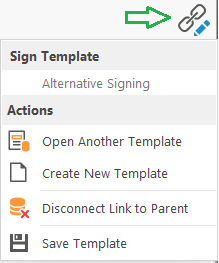
From here, you can clear the Sign Template editor by creating a new template, open another template or if you’ve made changes to the template that you would like to save permanently for future requests using this template, you can do that from here.
Creating the Sign Requests
Once you’ve prepared everything, you can click the Update button on the ribbon bar to start the process. If you’ve created a new sign template or made changes to an existing one, the system will prompt to see if you want to save it.
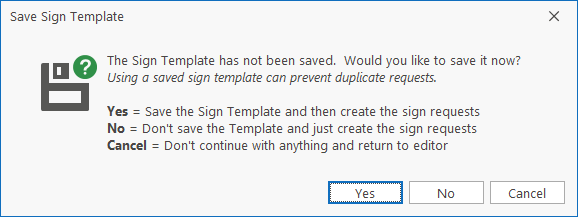
Clicking Yes will save the changes to the Sign Template and then proceed to create the sign requests.
Clicking No will use the sign request as-is and proceed to create the sign requests.
Clicking Cancel will return to the editor where you can make some more changes if desired before attempting again.
Note that each sign request is created individually and submitted to the online document portal, so if you have a large number of people selected, this process can take a long time. You’ll however be able to see the progress as each sign request is created and sent.