
BI Dashboard Manager
Introduction
HR Manage allows the designing and viewing of BI Dashboards from the Reporting module. To edit or design dashboards, the user needs access to the “Manage BI Dashboards” role under the “BI Dashboards” module. To view dashboards, users need access to the “View Dashboards” role and belong to the security group that the specific dashboard is designed to (if a dashboard has custom security defined).
Getting Started
To open the BI Dashboard Manager, open HR Manage and go to the Reporting & Exporting module. Click on the BI Dashboards tile to open the manager.
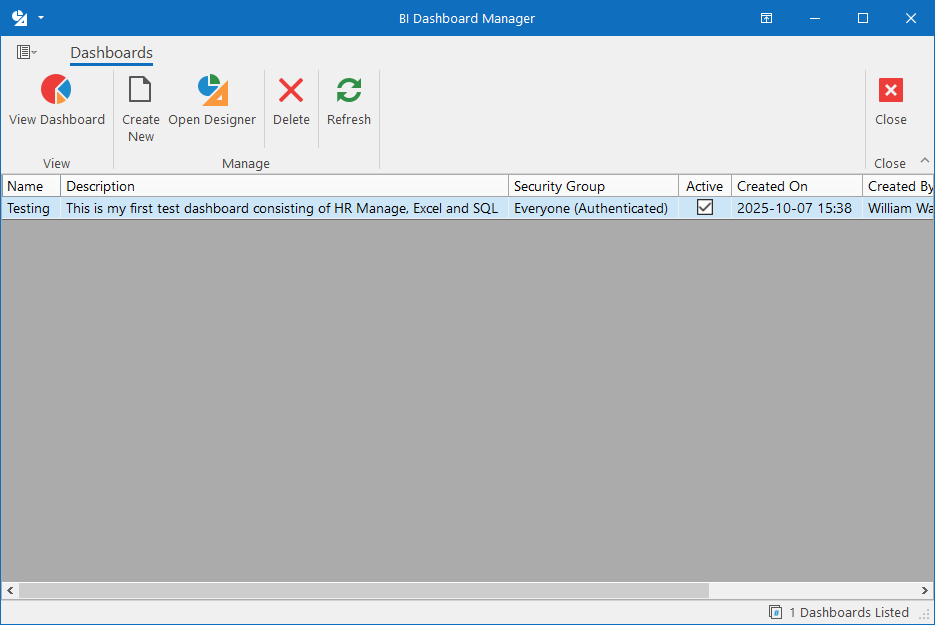
To view a BI Dashboard, select the dashboard from the list and click on the View Dashboard button on the ribbon bar or simply double click the item. This will open the dashboard in a new window.
To create a new dashboard, click on the Create New button or to modify an existing one, select a dashboard and click on the Open Designer button. This will open the BI Dashboard Designer.
Viewing Dashboards
Viewing a dashboard will open each dashboard in its own window. You can have multiple concurrent dashboard windows open at the same time.
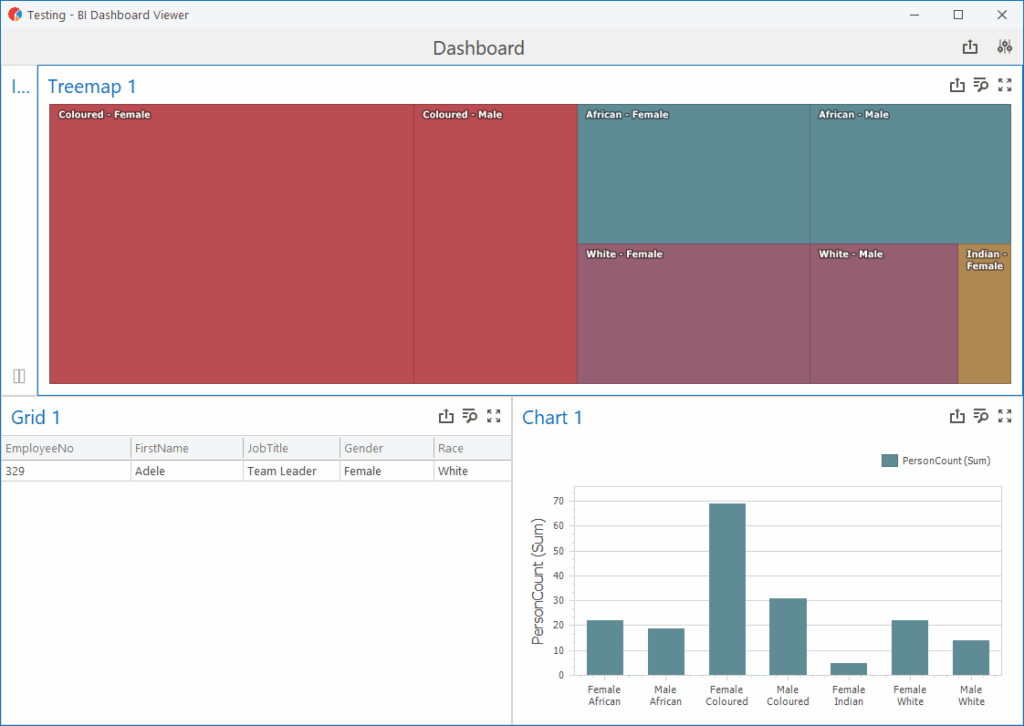
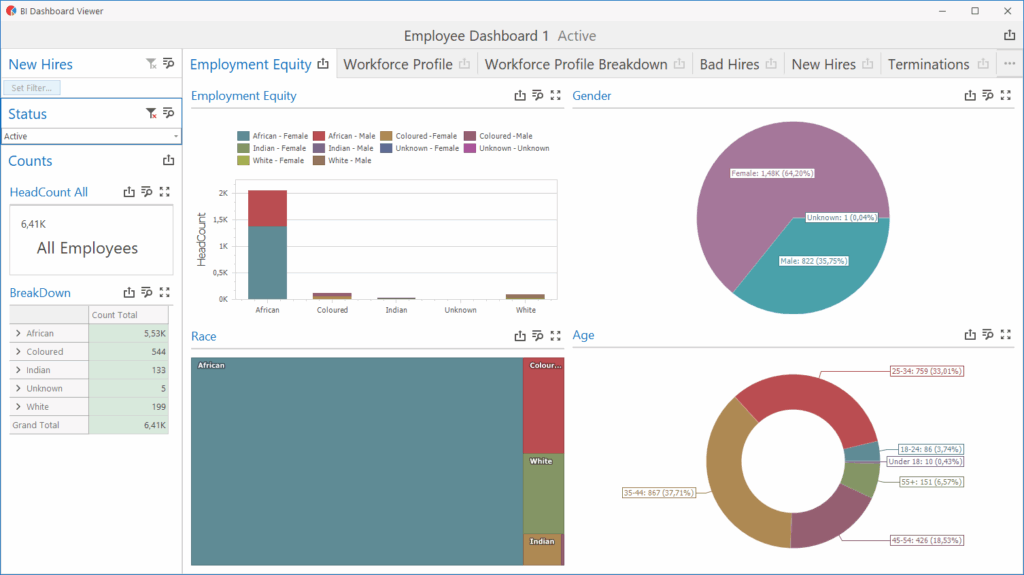
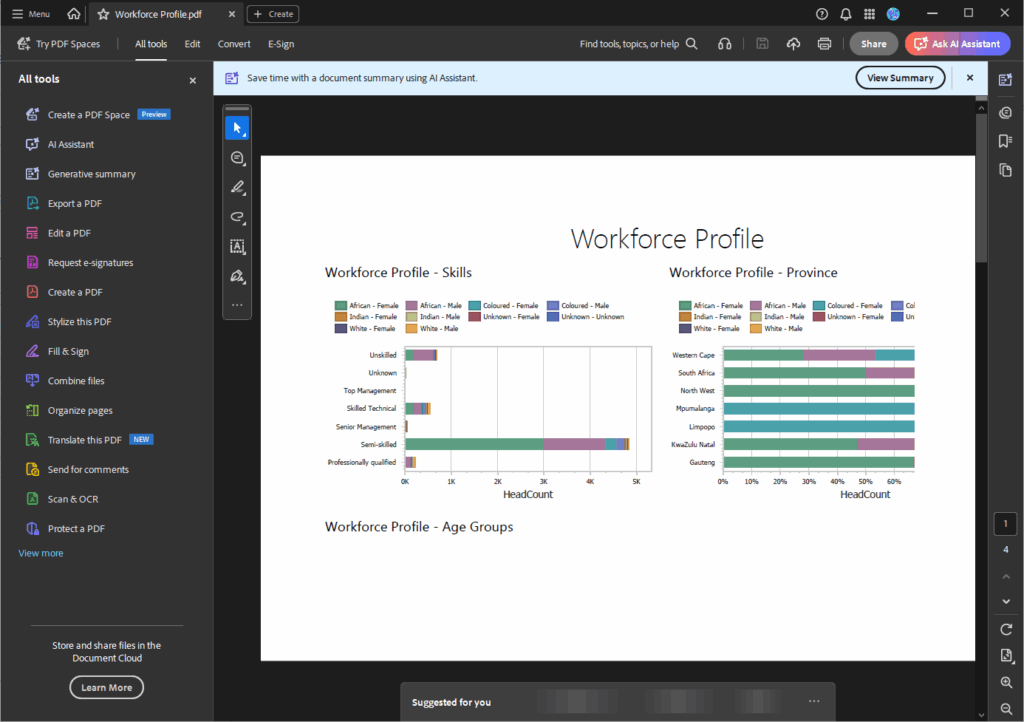
For certain dashboards (depending on the design), you might need to set some parameters or filters. That can be done on the dashboard itself.
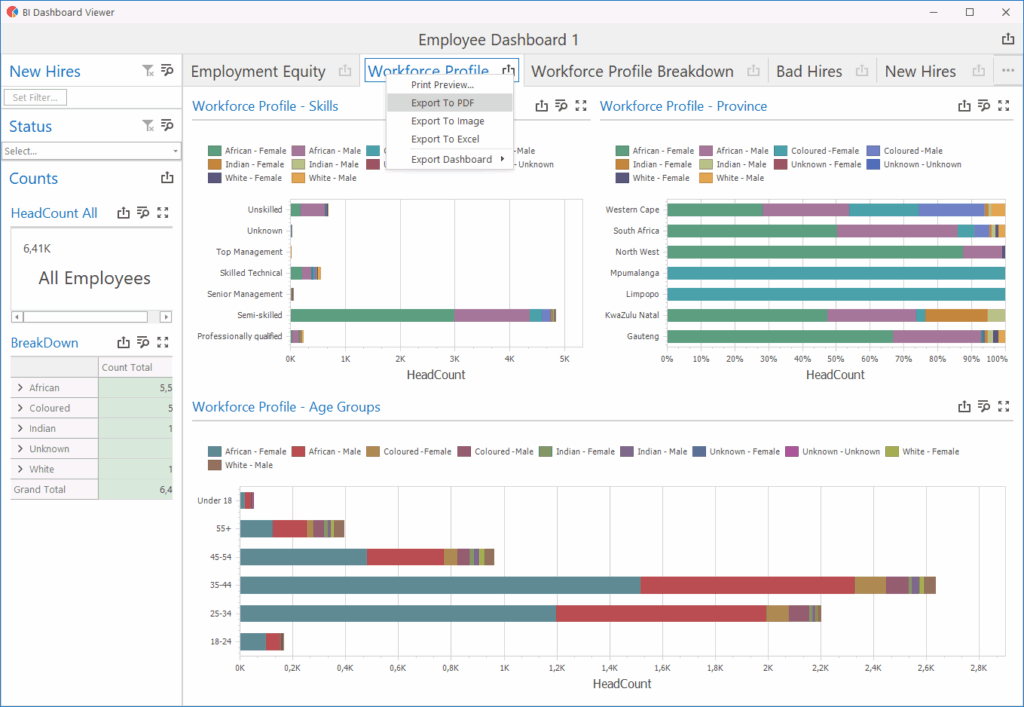
Dashboards can also be printed or exported. Simply right-click on the dashboard, either an element or a tab or the background and choose the format to export the dashboard to.
Importing Dashboards
IT Administrators are allowed to import dashboards that were exported from other instances of HR Manage. HR Manage will import the dashboard as well as all data sources used by it. The latter is the reason for increased security on this feature.
To get started, simply click on the Import BI Dashboard button on the ribbon bar, select the .HRManage file and click Open. This will present you with the Import BI Dashboard screen where you can customise the import process by specifying a new name, security and mapping (or creating) the data sources used by the dashboard.
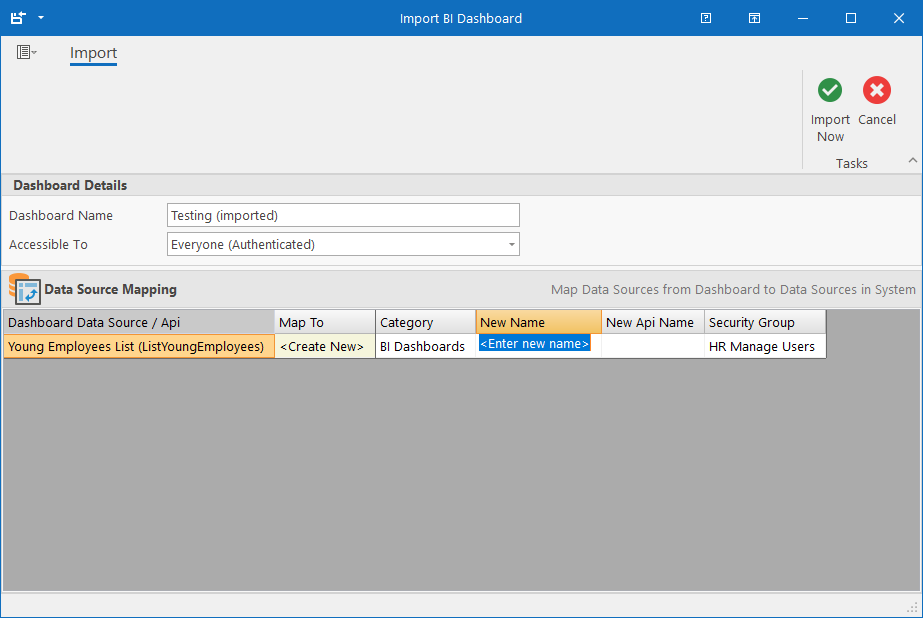
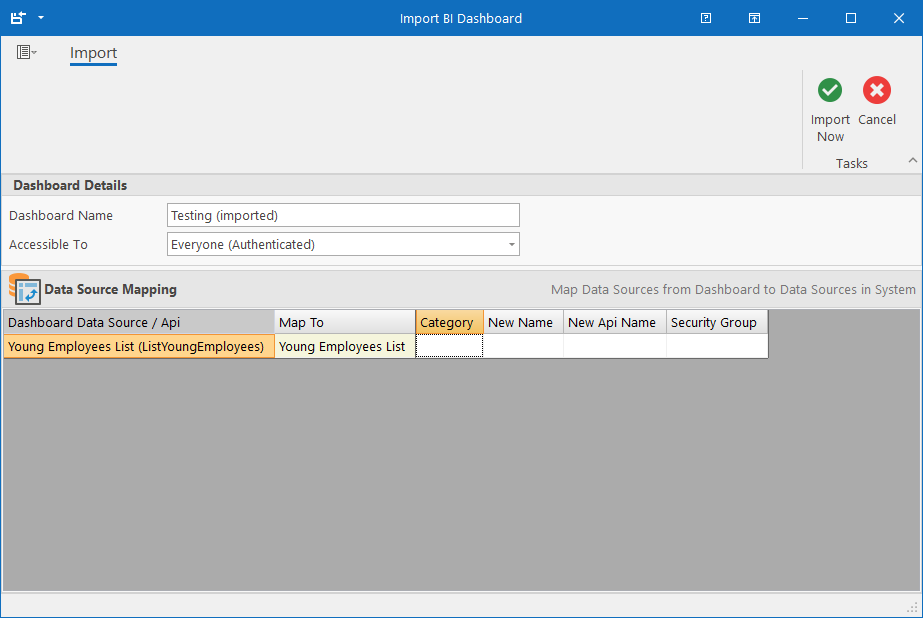
The system will automatically attempt to match the data sources from the dashboard to the data sources in the system.
The columns in the grid are as follows:
- Dashboard Data Source / Api: This will display the name of the data source that is used by the dashboard and needs to be mapped to a data source in HR Manage. If a data source by the same name is found, it will automatically be selected when the screen opens.
- Map To: Select the data source in HR Manage that is structurally the same as the source data source (same parameters and parameter names and returns the same structured data). Selecting an existing data source, will make all other fields for that row blank. If a matching data source was not found (or if you choose to create a new one anyway), then you can select <Create New> and specify the fields on the right.
- Category: For new data sources, specify under which Category it should be stored.
- New Name: Specify the name for the data source. By default, the dashboard’s data source name will be used, but if that name already exists in the system, you’ll need to specify a new unique name.
- New Api Name: The API name is another field that is used for lookup to see if the data source exists. In most cases, this field should be blank unless it is made available to external applications for calling.
- Security Group: If the data source must only be available to a certain group of people, specify which Security Group’s members can view data from the data source.
When all data sources have been mapped, simply click the Import Now button on the ribbon bar to import the dashboard and return to the previous screen.